Showing posts with label make it yourself. Show all posts

Wednesday, April 10, 2013

Fermenting Kimchi

Kimchi is a staple side dish in Korea.
 It is simple to make and it offers your gut a ton of healthy, live bacteria known as lactobacilli.( Trust me...your digestive tract will thank you for getting more of this special bacteria in it)  It also has tons of vitamins A, B and C. I've even  read one study that shows that fermented cabbage can help prevent cancer. Along with all of the fermented benefits of this dish also comes all of the benefits of the red pepper, ginger and garlic which all have healing properties of their own.

I'm so thankful that a friend of mine brought me a plateful of this when she visited the other month. (Not to mention that she even drove back to her house to get me a second serving) This recipe comes from her mother, who is an incredibly special woman to me and I love every food she has ever made. I'm so happy that she shared her recipe with me. (And that she gave me permisiion to share it with all of you!)

We have not been without a jar of this since the day I got the recipe. As soon as it's done fermenting I start a new batch so it's ready to go.I highly recommend making this but be aware that it is spicy. Spicy and delicious!!!


Here's how It's done:

1) Cut up two Napa cabbages in 1-2 inch squares ( I was not using Napa's when I took this picture)


2)  Soak the cabbage in 10 cups of water and one cup of salt for 5-6 hours.


3)  Drain, Rinse and squeeze off excess liquid from cabbage


4) Mix in 1/2 cup red pepper flakes,
5 scallions cut into 1 inch pieces
1 Tbls. sugar
1 Tbls, chopped ginger root
 1 Tbls. chopped garlic.


5) Pack mixture tightly into a CLEAN large glass jar with a lid and let it ferment on your counter top for 3-6 days.


6) When it's done fermenting I put it in smaller quart jars and put it in the fridge.
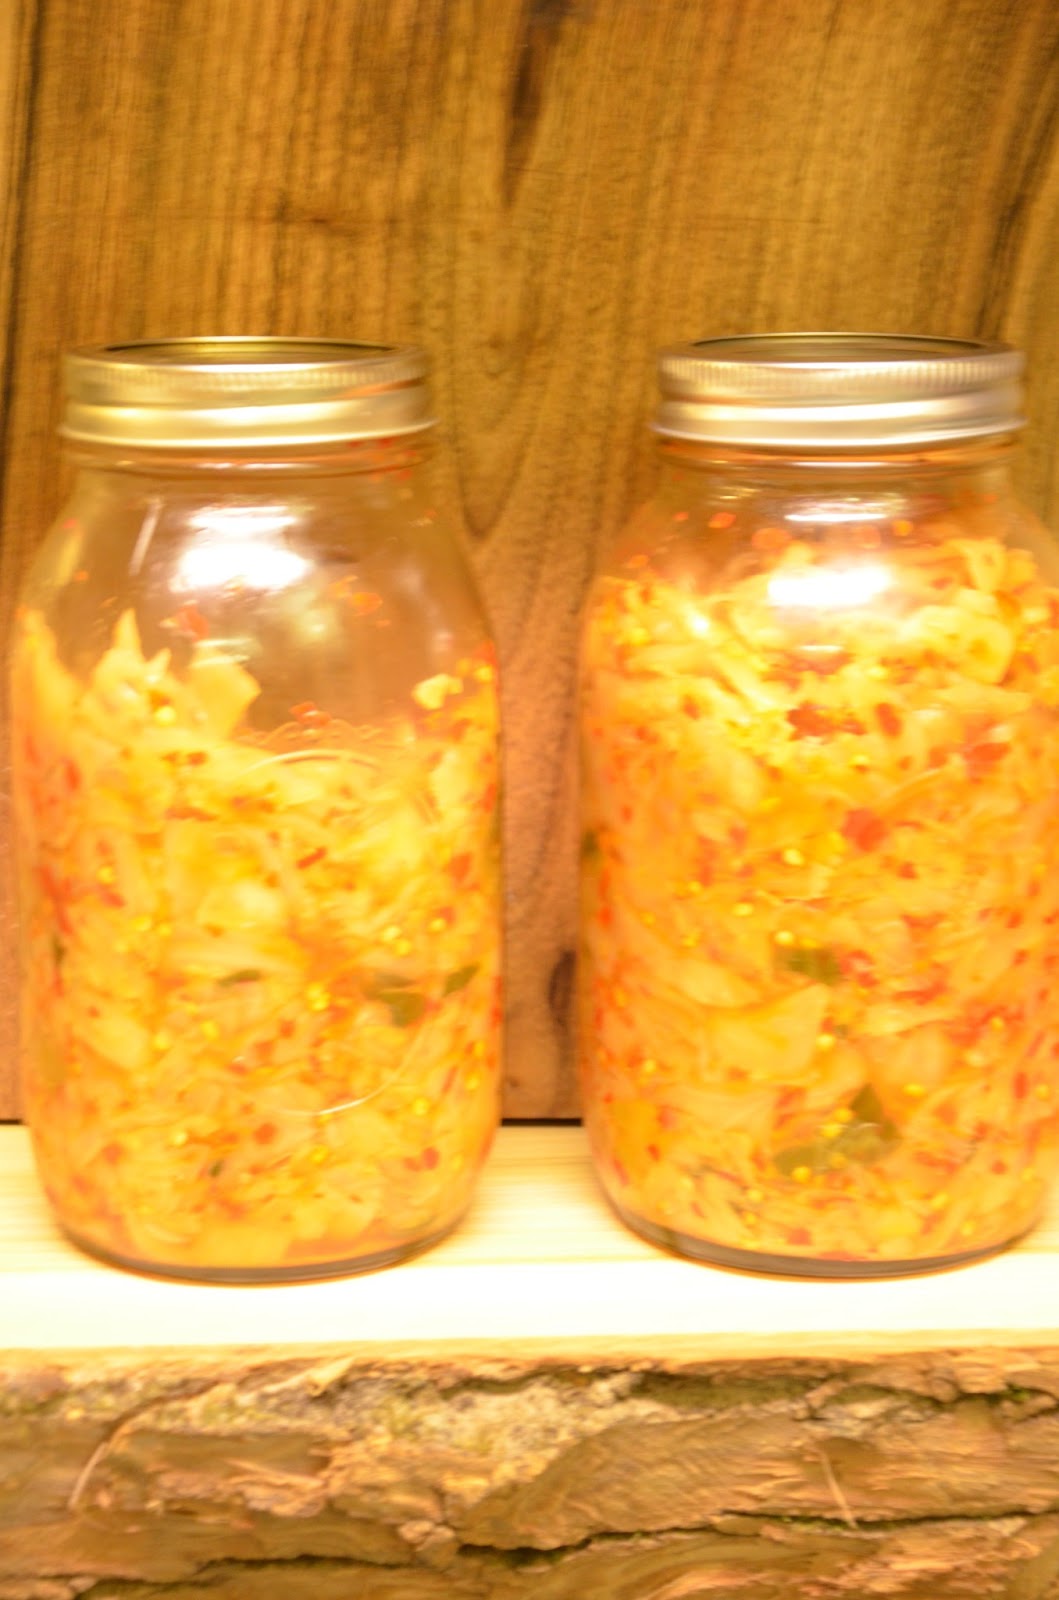


Enjoy It with everything you ever eat. I love it with eggs...and meat...and grilled cheese sandwiches..... and well you get the point!!!


I've read that it has a shelf life of a few months in the refrigerator since it is fermented , however I would challenge you to have it last more than 2 weeks without being eaten. It is just too delicious!!


Thanks Jane and Nadia for your sharing this with me!


I. Love. It!!!!!


Sunday, February 17, 2013

Amazing Cheese Crackers


Cheese Crackers....
 
I have been hearing so much about homemade cheese crackers lately. I've seen a lot of recipes on Pinterest and today decided to try making them. With three little girls in the house, we are always in need of new healthy snack ideas.
 
and only did a few things differently.
 
I used her measurements with great success but I did add a little sea salt sprinkled over the top instead of regular salt in the dough.
 
Ingredients
  • 8 ounces (2 cups)  Sharp Cheddar Cheese, Shredded
  • 4 Tablespoons Butter, Cut Into Cubes
  • 1 cup Flour
  • 2 Tablespoons Cold Water
  •  a sprinkling of sea salt
Instructions
Pulse everything (except water) together in the food processor
 
 
Until the dough resembles coarse sand.


Pulse in water, 1 tablespoon at a time.


Remove dough from the processor, wrap in plastic (I used a glass bowl with lid) and chill for 20 minutes.
 
Roll out the dough
 
 
Now cut into the shapes that you want. I cut a used pie plate into a strip and shaped a little fish for my kids.


 Place on a parchment paper lined cookie sheet. I used the end of a skewer to poke an eye in the fish.
 
 
And then I got sick of cutting them out so I just cut the rest into squares and put a hole in the center.
 
sprinkle with sea salt if desired and Bake at 350°F for about 10 minutes, or until crispy.
 
Here are some of them finished. They are honestly the best cheese cracker I have ever had in my life. The flavor is exactly like a good quality store bought Cheddar cracker but the texture is absolutely amazing! They are crispy but puffy. It surprisingly made a good amount. I'm storing them in a glass bowl with a lid but they will most likely not need stored very long since my family loves them so much!


Now, I'm going to go...And eat a handful of these Little gems!
 
Let me know how they turn out if you try this recipe.


Homemade Peanut Butter

 
I know that my blog post aren't as elaborate as many others. I haven't really learned how to get the action pictures while I'm making stuff. Partly because my hands are too full doing something that I can't use my camera and also because every recipe I post is so ridiculously easy I feel like it would complicate things to try make it look like a bigger deal than it really is. (If I ever skimp too much on the directions I figure people can ask me in the comments).  I like the simplicity of the things I make and therefor my post seem a little boring sometimes.
 
With that being said, here is my homemade peanut butter recipe. Are you ready for it?
 
Step 1: Food process peanuts until they are smooth and creamy. About 5 minutes.
 
Step 2: Put in Jar
 
Step 3: Eat by spoonfuls!


Simple, right? You can even use honey roasted peanuts or add any other flavors you like. Maybe cinnamon or vanilla? I love it with the honey roasted peanuts I get at a discount grocery store near me although I'd rather be able to make it with fresher nuts. 
 
If it comes out a bit thin you can store it in the fridge. I keep mine in the cupboard and it has a perfect consistency. I thought the oil was going to raise to the top and that I'd have to stir it every time but for some reason mine stays creamy, yay!
 
My family loves this so much that we are adding a peanuts to our homestead garden this year!

Friday, February 15, 2013

How to make Bath Salts


Soak your stress away with this easy to make Salt Soak.
 
Simply put your favorite essential oil with some sea salt and wam-bam....You're done!!
Sea Salt is very very affordable, It's usually priced somewhere around a dollar. You could also do it with Epsom salt.
 
I chose to make Lavender-Almond and Citrus-Almond this time. In case you can't tell-I pretty much think almond goes with everything!  It's working for me though because everything I make smells wonderful!!
 
 
To mix the essential oil and/or optional food coloring (a natural or organic dye is preferred) Just cut a piece of a paper towel and drop your oil and coloring on it. I used 2 separate paper towel pieces. Don't make them crazy wet or they will dissolve the salt. And mix it up with a butter knife. I also put the lid on and shook it a little.

 
Next, Put it in a pretty jar and you are done!!


Thursday, January 31, 2013

Simple "Non-Petroleum Jelly"

You are about to see what I mean by the "simple" things in life.

 I'm not sure what to officially call this recipe because "Vaseline" is just a brand name of  "petroleum jelly". This is neither Vaseline nor petroleum so I like to call it "Non-Petroleum Jelly".... Genius, right?!


Okay, you better go get your pen and paper, just in case you can't remember this all.


Here goes:

Put about 1/2 cup of organic olive oil in a small pot
Add about a teaspoon of beeswax

Warm on low until beeswax is melted. Pour into a small glass jar. (A baby food jar works well)

Let it cool and there you have it...Healthy non petroleum jelly!


*Note -If you'd like it to be more solid add more beeswax. If you want it to be more oily add more olive oil.

Did you catch all of that? I know, I know. It's really tricky but don't worry you'll figure it out eventually!

Seriously, you cannot mess this up. It's perfectly simple and you can use it for everything. I put it on myself, my kids and my animals as a moisturizer.  Also, to all you new moms out there, don't forget the sometimes necessary rectal thermometer. This non-petroleum jelly could really come in handy since I'm sure you don't want to be putting anything related to gasoline into their....you know. I'm much happier to use this more natural product.

Moving on....

Go ahead and give this a try and let me know what you think. Also if you figure out an exact measurement of how you like it best, please do share!


Saturday, January 26, 2013

Organic Homemade Degongesting Vapor Rub

 
It's that time of year again.
 
When every kid you see has a snotty nose and every mom is carrying around tissues in their pockets. Nothing quite soothes a cold the way that Vick's Vapor Rub does and since we have ventured into our "homesteading" lifestyle I have sworn off running to the store to buy everything we need (or that we think we need) I have been instead running to the kitchen  to try to make something similar. This recipe is absolutely amazing to me, even though I've only smelled it yet with my congested nose, I believe that it smells the same or better than the name brand stuff. I made it a few days ago and have been using it 3x daily since then. The other great thing is that you can customize the strength of it by simply using less oils. I think that makes it a little more appropriate for my kids. You could even play with the oils you are adding to the Eucalyptus. I chose to add Lavender and chamomile. It's soothing and relaxing..Just the comfort I'm looking for when I'm feeling under the weather!
 
Here's how I made it: (as you can tell I don't really measure when I make stuff so I'm giving estimates...you can figure out how thick, thin or strongly scented you'd like it to be and go from there. You can't mess it up, if you want to change the consistency after it cools just put it back in a warm pan and add more beeswax or oil!)
 
 
You'll need:
 
1 cup- organic Evoo
1 tbls. -Beeswax shavings (Try to find a local source for your beeswax, if you can't hen you can order it online)
30ish- drops Eucalyptus essential oil
20ish- drops Lavender essential oil
15ish- drops of chamomile essential oil (or any other essential oil you think compliments the Eucalyptus)
 
To make:
 
Put Evoo and beeswax in a small saucepan over low heat until beeswax is melted, stirring often. Remove from heat and add essential oils. Pour in pretty jars ( I used 4oz. Jelly jars)  And..
THAT'S IT!!  Easy, huh?!


The oils in it help it to have a decent shelf life, but you should try to use it within one year.
 
Isn't it amazing how simple these things really are to make at home?


Friday, January 25, 2013

Super easy sugar scrub

 One of the quickest things to make yourself is this vanilla brown sugar body scrub. I made it as part of my  Christmas present baskets this year. I wanted it to have a warm and cozy winter smell so I chose to use brown sugar and vanilla to scent it. You can whip up a batch of this and clean up your kitchen in less than 5 minutes so I figured it was a great recipe to start my blog with. I keep a mason jar on the side of my tub and it leaves my skin feeling luxuriously moisturized. Here is the recipe:


1 cup brown sugar
 
1 cup white sugar
 
1 cup extra virgin olive oil
 
and a few teaspoons vanilla extract
 
Stir all ingredients in a bowl until combine. (If it's too runny just add more sugar. If it's too dry add more oil) Put in a pretty glass jar and you're done. Here is a photo of mine. I chose to put it in a wide mouth jelly jar for my gifts and tied some jute around a piece of brown paper bag to make it match my rustic gift baskets.


And here is a picture of one of my gift baskets since I know you're all just dying to see them!


What homemade gifts did you give for Christmas this year?